Standing out in a competitive real estate market requires more than just listing properties: it’s about creating compelling marketing material. High-quality listing photos are your secret weapon, but to unlock their full potential, you’ll need to create shareable social media graphics for real estate.
Fortunately, Jigglar has a wealth of templates to help you get started. With eye-catching listings, you can maximize your reach, drive engagement, and establish your brand presence on social media.
In this post, we’ll show you how to transform your listing photos into scroll-stopping graphics. So, let’s dive right in!
Step 1: Choose the Right Listing Photos
The foundation of any great social media graphic is the quality of the photos you use. You’ll want to use high-resolution images that showcase the property’s best features. Bright, clear, and professionally taken photos work best.
Ideally, your photos should highlight elements that buyers care about most, like the kitchen, living room, and outdoor spaces. It’s also a good idea to use photos that evoke emotions or convey the lifestyle the property offers.
For instance, if it’s a cozy house for young professionals, you can include an image of the living room with a lit fireplace and shelves lined with contemporary books.
Step 2: Utilize Jigglar’s Templates
Jigglar offers a wide range of real estate templates, including options for different social media platforms. These are all easily customizable: you can upload your own photos, change the colors and fonts, rearrange elements, and a lot more.
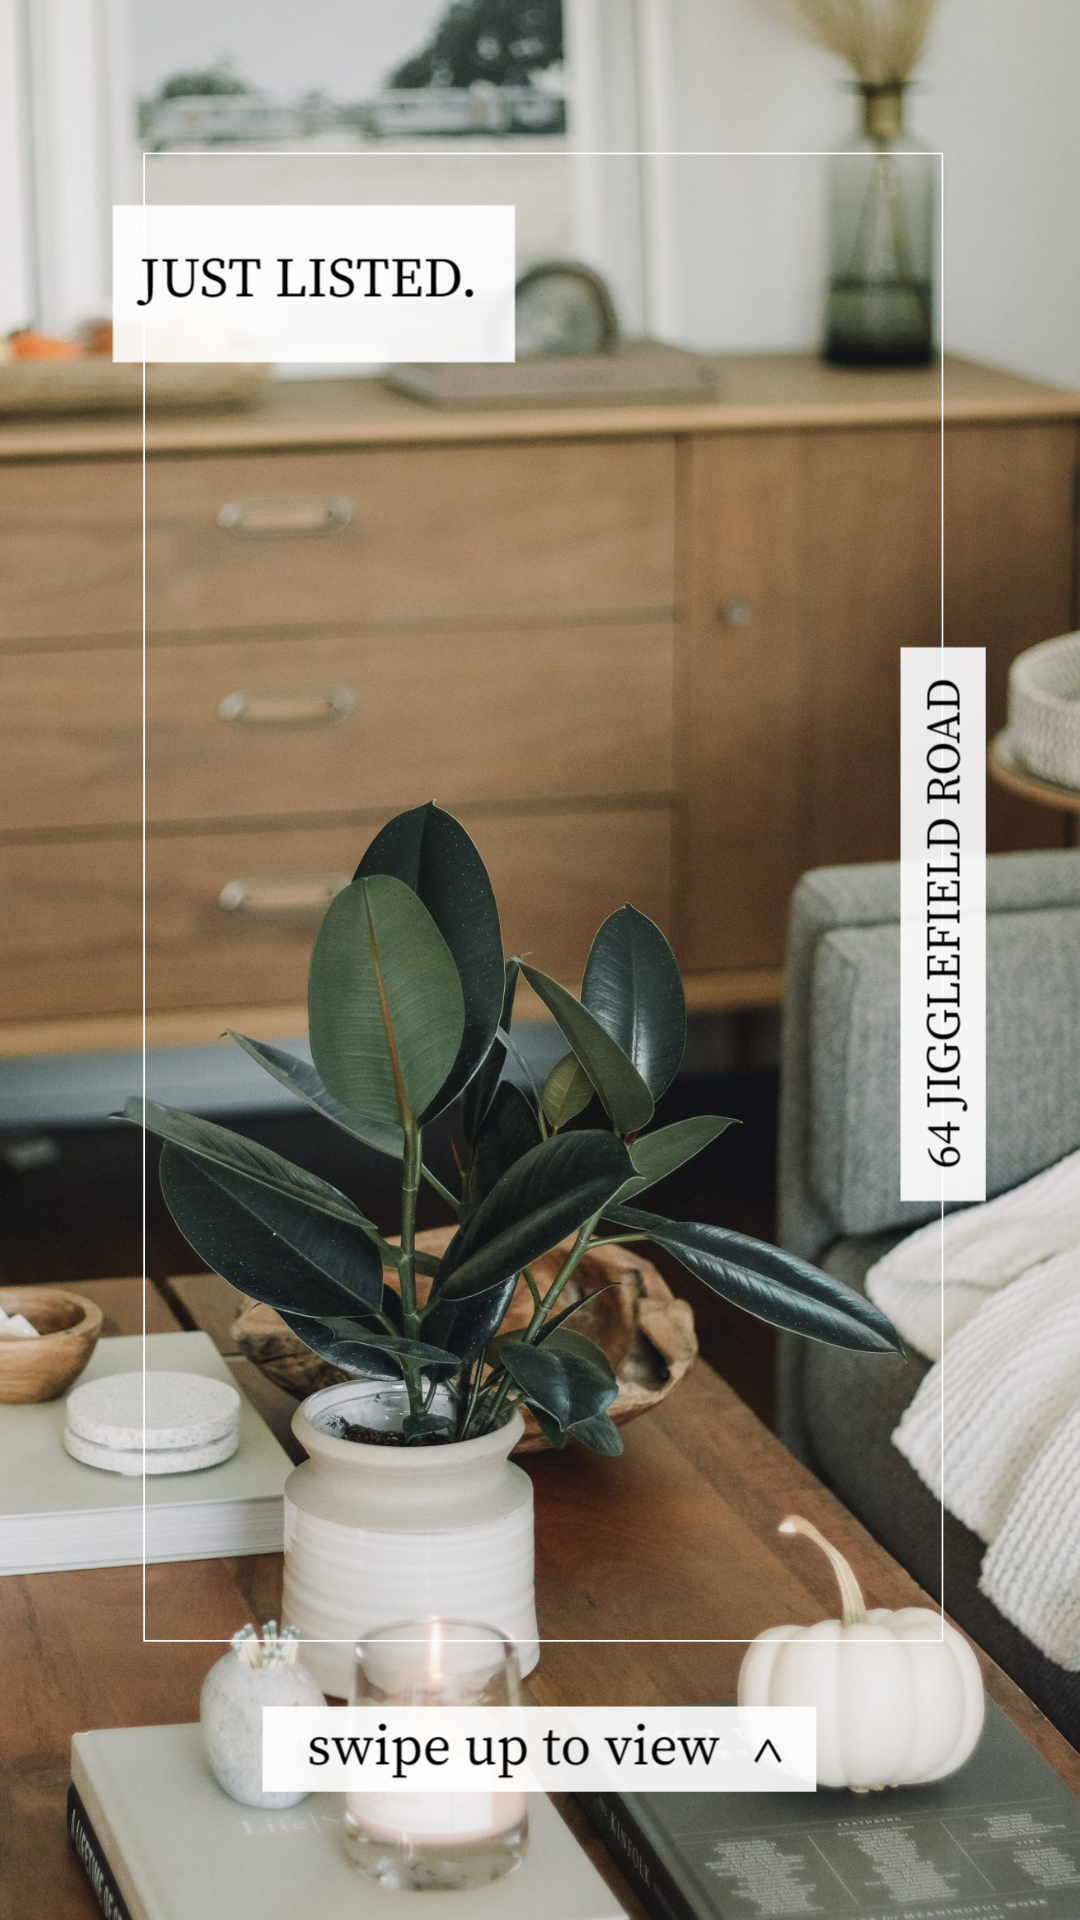
For example, you can use a Just Listed template for Instagram Stories and simply add your property photo:
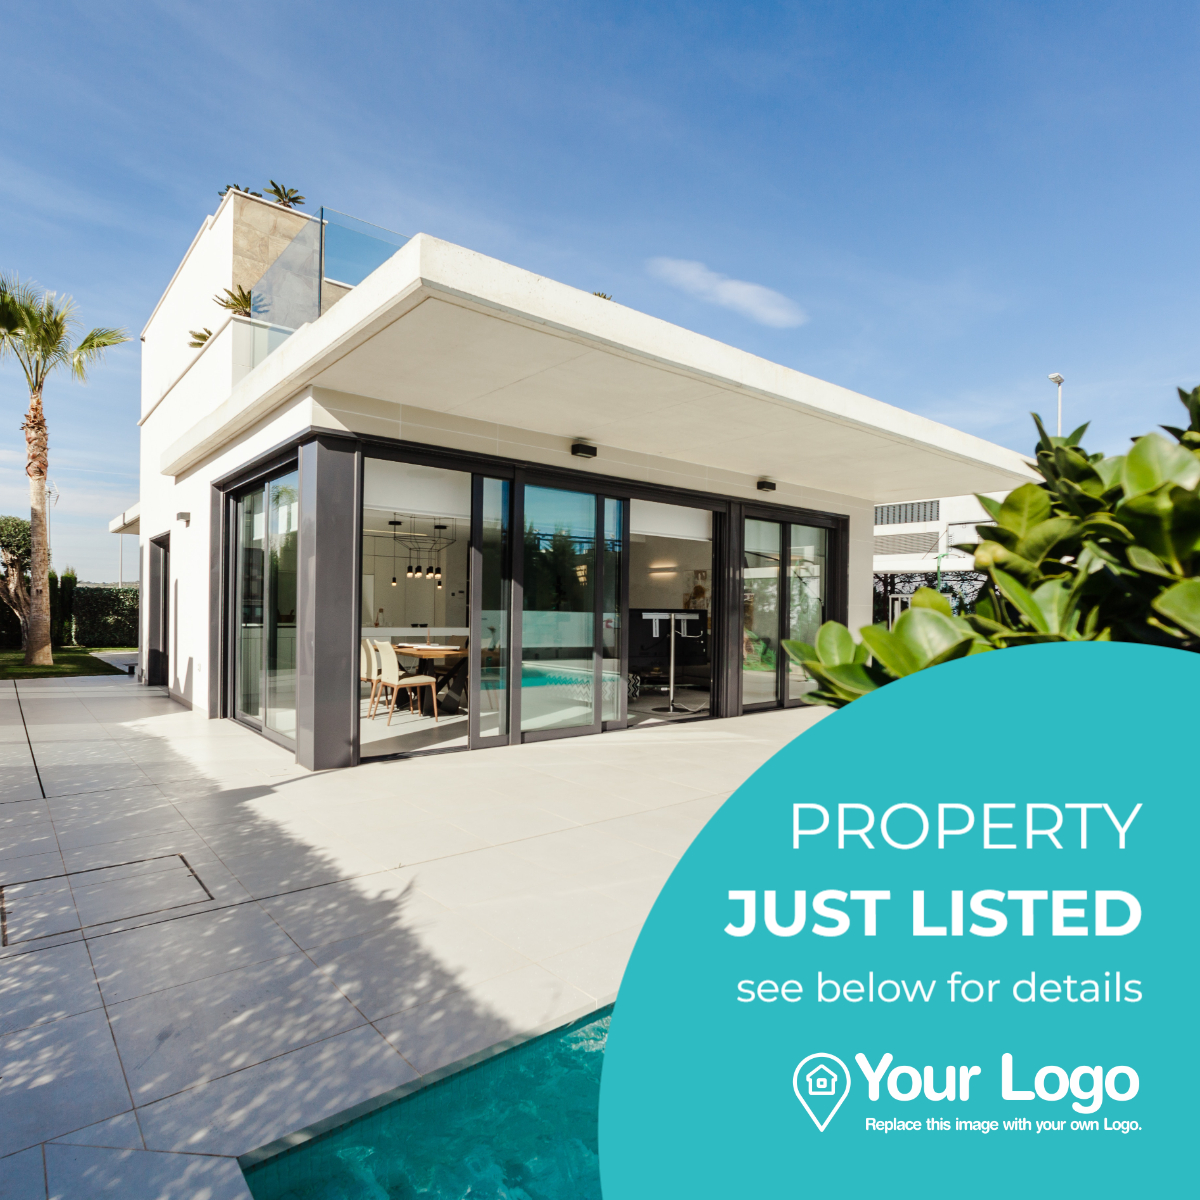
You’ll also find Just Listed graphics for Facebook posts:
Using our Jigglar templates can help you save time as well. You won’t need to configure the graphic dimensions for different social media platforms.
Step 3: Add Compelling Text Overlays
Text overlays should provide essential details about the property, like the address, the number of bedrooms, and the square footage. Without this information, viewers won’t know if the property would be right for them and they might lose interest and keep scrolling.
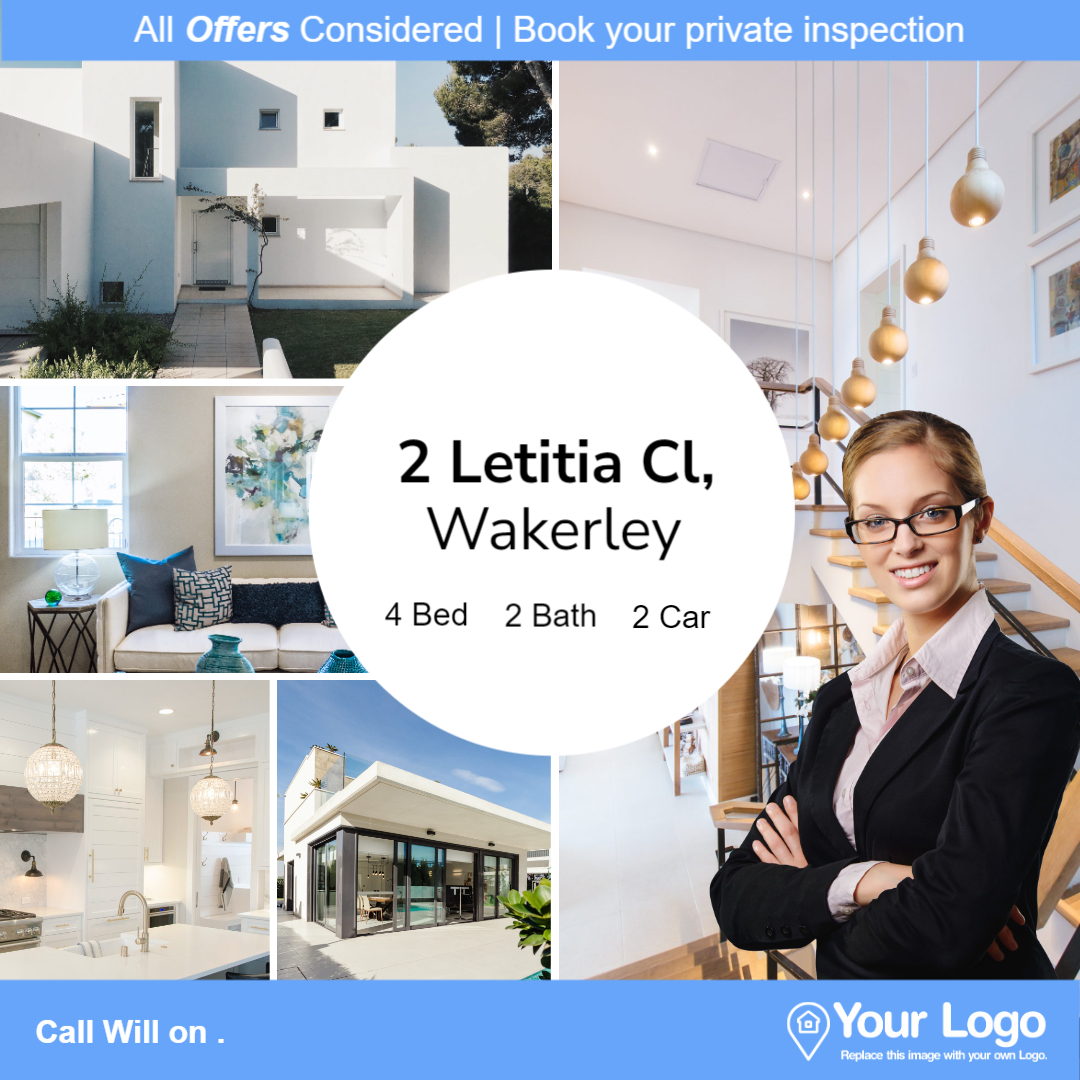
Some of our Jigglar templates present this information with icons so it’s more concise:

Remember to add attention-grabbing headlines. Instead of “Just Listed”, you might write something like “Open House This Weekend” or “Your Dream Home Awaits”.
Avoid overcrowding your graphic with too much text. You can include a link to the full listing within the caption. This way, anyone who’s interested in learning more about the property can simply visit your website.
Step 4: Use Branded Elements
Consistency in branding helps establish trust and recognition. Therefore, you’ll want to incorporate branded elements into your social media graphics.
For instance, you can add your logo to the corner of each graphic to ensure your branding is always visible. Most of our Jigglar templates include a placeholder for your logo:
You’ll also want to use your brand’s color palette to create a cohesive look across all posts. The same goes for fonts.
Step 5: Experiment with Dynamic Designs
Static images are effective, but dynamic designs can make your social media graphics even more engaging.
Here are some ideas to help you make your listings more shareable:
- Collages: Showcase multiple photos in one post to provide a more comprehensive view of the property.
- Before-and-after comparisons: Highlight recent renovations or staging transformations to captivate your audience.
- Photo filters and effects: Use subtle filters to enhance your photos and make them visually cohesive.
- Animated graphics: Add motion to your posts using GIFs or short video clips to catch the eye of scrolling users.
With Instagram and TikTok, you can even add music to your posts. You can even turn your photos into reels.
Step 6: Add a Call-to-Action (CTA)
Every social media graphic should encourage your audience to take the next step. When sharing listings, the CTA will likely invite them to visit your page or get in touch for more details.
Here are some clear and actionable phrases that you can use:
- Schedule a viewing today!
- Call us for more information.
- Visit our website for more details.
You might even encourage viewers to share the post with someone who’s looking for a new home. For instance, you can write something like “Tag a friend who needs to see this”.
Step 7: Test and Analyze Performance
Once you’ve created and shared your graphics, you’ll want to measure their effectiveness.
As we have seen, Jigglar offers a vast selection of social media templates that you can use. Some of them will work better than others, so you’ll want to monitor engagement on your pages and see which type of graphics yield the best results.
Track your likes, comments, shares, and views to see what resonates with your audience. Fortunately, most social media platforms including Facebook and Instagram provide built-in insights and reports for business pages.
It’s also a good idea to experiment with different templates, headlines, and layouts to identify the most effective combinations. Then, use your findings to improve future graphics and campaigns.
Conclusion
Stunning social media graphics can set you apart in a competitive market. They also help you increase your reach, especially if your followers share them with their family and friends.
You’ll want to start by choosing high-quality property photos. Then, upload them to our Jigglar social media templates, add key details about the property, and use your branding elements. It’s also a good idea to include a call-to-action and experiment with dynamic content, like reels and videos.
Are you ready to create shareable social media graphics for real estate? Get started with Jigglar today!